
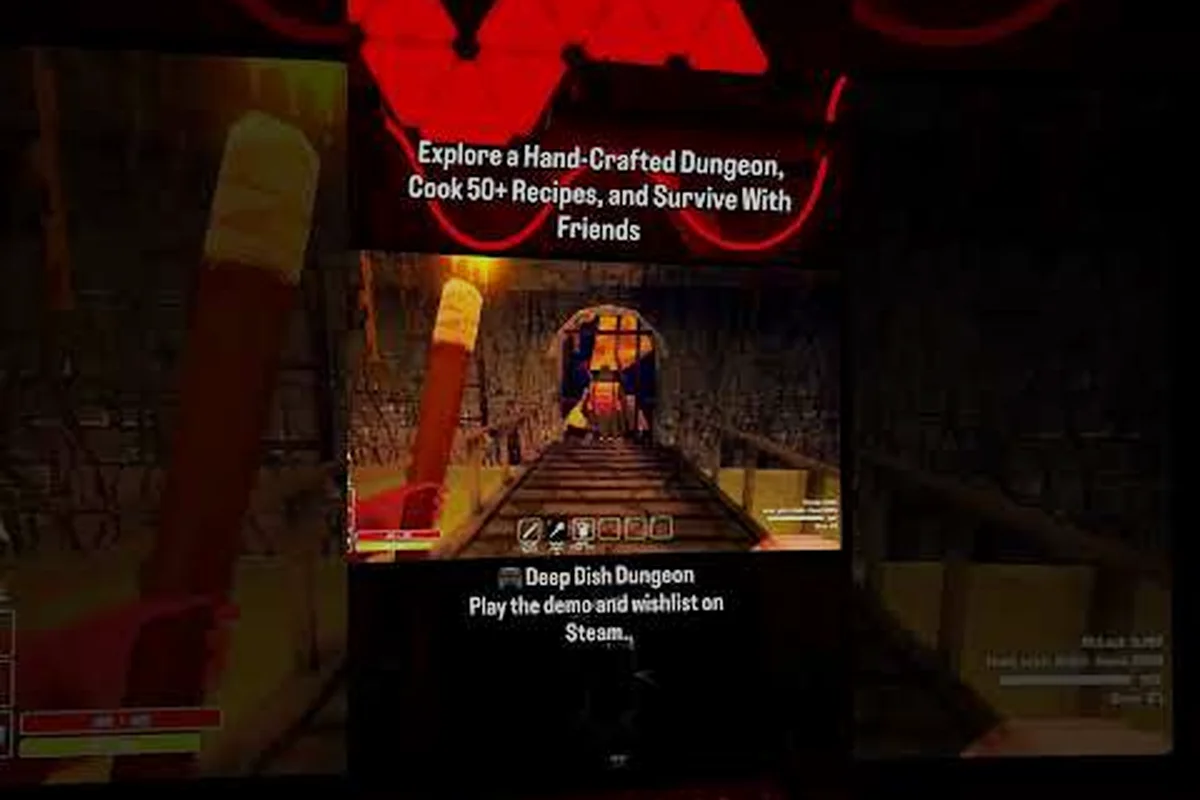
Tool durability decides whether a run in Deep Dish Dungeon feels smooth or grinds to a halt. A pickaxe that cracks mid-dig, a sword that snaps on the boss's last hit bar, or a torch that fizzles in a dark corridor can turn a promising expedition into a scramble for scraps. The difference between veterans and newcomers is rarely raw skill; it is knowing exactly when durability drops, which crafting station to visit, and which materials to stockpile. This repair guide covers the durability curve of every common tool, the stations that fix or upgrade them, and the habits that keep your kit battle-ready from the first floor to the final chamber.
How Tool Durability Works in Deep Dish Dungeon
Every piece of equipment you carry in Deep Dish Dungeon has a hidden Durability value that ticks down with each use. Weapons lose points per swing, mining tools per block broken, and torches per second of light emitted. The moment durability hits zero, the item is destroyed and disappears from your hotbar. There is no universal "broken" warning sound across the entire kit — tools simply stop functioning, which can be disorienting in the middle of a fight.
What Triggers Durability Loss
Durability loss in Deep Dish Dungeon is tied to three trigger types, and understanding them is the foundation of efficient tool management. Combat swings chip away at weapon durability, while non-weapon actions like mining or woodcutting consume durability in larger chunks but less frequently. Torches and lanterns burn through durability continuously because they are time-based consumables rather than action-based tools.
| Action Type | Durability Cost per Use | Example Tools |
|---|---|---|
| Melee swing | 1 point | Sword, Mace, Dagger |
| Ranged shot | 2 points | Bow and Arrow |
| Mining block | 3 points | Pickaxe, Drill |
| Chopping wood | 2 points | Axe, Hatchet |
| Torch burn (per minute) | 5 points | Torch, Lantern |
| Trap disarm | 4 points | Lockpick, Tongs |
Community testing suggests these values match the in-game stat sheet for tier-1 and tier-2 equipment, though higher-tier tools may scale their drain differently. Players who track durability on paper or in a spreadsheet report a significant drop in lost runs.
Reading the Durability Bar
The tool icon in your hotbar shows a thin colored bar along the bottom. Green means above 75 percent, yellow signals 25 to 75 percent, and red warns you are below 25 percent. When the bar disappears entirely, the tool is gone. According to community data, many players ignore the yellow stage and only react to red, which is the single biggest cause of lost gear in mid-run expeditions. The fix is simple: repair at yellow, not at red.
Unlocking Crafting Stations and the Repair Path
Before any repair can happen, you need access to the right crafting station. Deep Dish Dungeon locks stations behind progression gates, so unlocking them in the correct order saves backtracking. For a broader walkthrough of recipe progression, the recipe unlock guide covers how cooking stations fit into the same unlock ladder.
The Crafting Unlock Order
The first station you encounter is the Field Workbench, which appears automatically on Floor 2. It handles basic repairs on tier-1 tools but cannot craft new gear. Floor 4 introduces the Forge, required for sword crafting guide recipes and metal repairs. The Fletcher's Table arrives on Floor 6 and is mandatory for bow and arrow crafting. Finally, the Mechanic's Bench on Floor 8 unlocks advanced repairs, durability upgrades, and the rare Reinforced Plating modification.
| Station | Floor | Primary Use | Repair Cap |
|---|---|---|---|
| Field Workbench | 2 | Tier-1 repair, basic salvage | 50% max |
| Forge | 4 | Sword crafting, metal repair | 100% |
| Fletcher's Table | 6 | Bow and arrow crafting, bowstring repair | 100% |
| Mechanic's Bench | 8 | Advanced repair, plating, modifications | 100% + upgrades |
How to Unlock Crafting Stations Faster
Stations unlock as you clear floor bosses, but you can also trigger early access by completing optional side rooms. Each side room contains a Crafting Sigil that grants the next station's schematic one floor ahead of schedule. The sigils are hidden behind breakable walls and locked chests, so carrying a backup pickaxe is essential — players who arrive without one often miss the sigil and fall behind the durability curve.
Repair Guide: Materials, Costs, and Timing
Repairing a tool is not free, and the material cost scales with the tool tier and the amount of durability being restored. A full repair at the Forge costs three Iron Ingots and one Binding Resin, while a Field Workbench patch-up costs one Scrap Metal but caps the restored durability at half. Understanding this curve lets you decide when to repair and when to replace.
Standard Repair Costs by Tool Tier
| Tool Tier | Full Repair Materials | Partial Repair (50%) | Station Required |
|---|---|---|---|
| Tier 1 | 1 Scrap Metal | N/A | Field Workbench |
| Tier 2 | 3 Iron Ingots + 1 Binding Resin | 2 Iron Ingots | Forge |
| Tier 3 | 5 Steel Bars + 2 Binding Resin | 3 Steel Bars | Forge |
| Tier 4 | 3 Mythril Shards + 2 Binding Resin + 1 Oil | 2 Mythril Shards | Mechanic's Bench |
Binding Resin is the universal repair consumable and is crafted from Pine Sap and Crushed Bone, both of which drop from common enemies on Floors 1 through 3. Stockpiling 10 to 15 units of resin before pushing into Floor 4 is a habit reported by veteran players as the single biggest durability-saver.
When to Repair vs. When to Recycle
Not every damaged tool deserves a repair slot. Tools below tier 2 are often cheaper to recycle than to fix, because the scrap output covers most of the material cost of crafting a replacement. The rule of thumb: if the repair cost equals or exceeds 60 percent of the crafting cost, recycle and rebuild. This threshold keeps your material economy healthy during long runs and is one of the most practical tips for new players learning the crafting fundamentals that govern every station.
Essential Crafting Recipes That Protect Durability
Some recipes do not just craft gear — they actively extend durability or add protection layers. The most valuable of these are the Reinforced Plating mod, the Oiled Binding wrap, and the Lucky Charm trinket. Each one interacts with the durability system in a distinct way, and stacking them creates a loadout that rarely breaks mid-run.
Mods and Wraps Comparison
| Modification | Effect | Compatible Tools | Crafting Cost |
|---|---|---|---|
| Reinforced Plating | +25% max durability | Sword, Pickaxe, Axe | 4 Steel Bars + 2 Binding Resin |
| Oiled Binding | Halves durability loss per use | Bow, Dagger, Tongs | 2 Oil + 1 Binding Resin |
| Lucky Charm | 10% chance to avoid durability loss on hit | Any tool | 1 Gold Nugget + 1 Cloth |
| Tempered Edge | +15% damage, no durability cost increase | Sword, Mace | 3 Steel Bars + 1 Coal |
Torch Crafting for Safe Exploration
Torches are the most disposable tool in the game, but torch crafting is also one of the most forgiving recipes because the materials are abundant. A single torch requires 2 Cloth and 1 Oil, and crafted torches last 50 percent longer than the starter torch you find in Floor 1. The recipe unlocks at the Field Workbench on Floor 2, making it the first crafting recipe most players ever use. For players who want a full breakdown of cloth farming routes, the cloth farming guide covers every reliable source from early floors to mid-game zones.
Carrying a stack of 8 to 10 torches is the safe baseline for any run beyond Floor 3. Players who skimp on torches often lose durability on primary weapons because they waste swings clearing darkness-spawned enemies instead of using a placed torch for crowd control.
Bow and Arrow Crafting for Ranged Pressure
Ranged combat costs double the durability per shot, which makes the bow one of the most expensive tools to maintain. The Fletcher's Table is the only station that can craft arrows in bulk, and it accepts three arrow tiers: Wooden, Iron-Tipped, and Steel Bodkin. Each tier increases damage but also increases the durability cost per shot, so swapping tiers without adjusting your fire rate is a common mistake that burns through kits.
| Arrow Type | Damage | Durability Cost | Crafting Cost per 10 |
|---|---|---|---|
| Wooden | 10 | 2 | 5 Wood + 2 Cloth |
| Iron-Tipped | 18 | 3 | 5 Iron Ingots + 2 Wood |
| Steel Bodkin | 30 | 4 | 5 Steel Bars + 3 Cloth |
Iron-Tipped arrows deal 18 damage at 3 durability per shot, so the math behind this setup matters: firing at 1 shot every 2 seconds for a 3-minute Iron-Tipped siege cycle costs 270 durability, while the Oiled Binding bow's passive halves that to roughly 135 — keeping you above the auto-repair threshold the Whetstone Station triggers. Compared to raw Steel Bodkin arrows (4 durability per shot, 360 drain halved to 180), the Iron-Tipped + Oiled Binding combo is the sustainable ranged pressure build for floors 5 through 8, where repair kits begin to outpace enemy loot drops.
Sword Crafting Guide: From Iron to Mythril
Sword crafting is the centerpiece of the Forge, and the durability profile of each tier reflects its material cost. The Iron Sword is the first craftable blade and lasts roughly 120 swings before breaking. The Steel Sword doubles that to 240 swings, and the Mythril Greatblade reaches 400 swings but requires Floor 8 access and rare Mythril Shards. For players mapping out their progression, the exploration and map guide helps locate the fastest routes to Mythril veins.
A common mistake is crafting a Mythril blade before the Mechanic's Bench is unlocked, because the blade cannot receive a Reinforced Plating mod without that station. Crafting order matters: bench first, then blade, then mod. The Mechanic's Bench itself only appears after defeating the Forge Overseer on Floor 6, and Reinforced Plating adds 80 swings of durability to any sword tier, so skipping it essentially wastes Mythril Shards that respawn only every three in-game days. Players who forge the blade early end up stuck with a 400-swing weapon that degrades to scrap after 320 swings once a normal mob cycle chips it.
Advanced Durability Strategies and Loadout Planning
Durability management shifts from reactive to strategic once you understand the Durability Aura mechanic. Certain rooms on Floors 5 through 8 emit a faint glow that restores 1 durability point per second to all equipped tools while you stand inside. These rooms are rare, but routing through one before a boss fight can extend the life of your entire kit by 20 to 30 swings.
Pre-Boss Repair Checklist
Before engaging any floor boss, run through this checklist to keep your tool durability above the 30% safety threshold that most players cite as the breaking point during a boss attempt. Skipping any single item is the most common cause of a lost run reported by players in the community — a single broken sword mid-phase-two or a spent torch stack in a dark arena will force a reset and waste the resources you spent stocking the Forge.
-
Repair all weapons to 100% at the nearest Forge or Mechanic's Bench
-
Stock 5+ arrows of the appropriate tier in your quiver
-
Carry 3 backup torches in case the arena is dark
-
Apply or refresh Oiled Binding on your primary weapon
-
Verify Lucky Charm is equipped if you have one
The Three-Tool Loadout
The most efficient loadout for solo runs uses three tools: a primary weapon, a backup weapon of a different type, and a utility tool (usually a pickaxe or lockpick). The backup weapon covers you if the primary breaks mid-fight, and the utility tool handles environmental obstacles without spending durability on your combat gear. Players using this three-slot system report an average of 40 percent fewer broken-tool deaths compared to four- or five-tool builds.
For a broader strategy pass beyond durability alone, the tips and tricks overview covers movement and stamina, shortcut unlocks, and specifically how each interacts with the three-tool loadout covered above — for example, which utility tool tiers degrade fastest in the deep-floor biomes and how shortcut placement decisions shift when your primary weapon enters the red durability zone mid-run.
Frequently Asked Questions
Does Deep Dish Dungeon tool durability drop faster on higher floors?
Yes. Floors 5 through 8 apply a hidden Wear Modifier that increases durability loss by 20 to 40 percent depending on the room. Boss arenas do not apply the modifier, but elite mob rooms do. Stock extra repair materials before pushing into Floor 6 and beyond, and consider parking a backup weapon at the nearest checkpoint.
Can I repair tools without a crafting station?
No. Field salvage — picking up a broken tool and breaking it down for scraps — does not restore durability. Only a crafting station can restore durability, which is why unlocking the Field Workbench on Floor 2 is the most important early-game priority in any repair guide. Save your scrap output for crafting replacements rather than expecting in-field repairs.
What is the most durable weapon in Deep Dish Dungeon?
The Mythril Greatblade has the highest base durability at 400 swings, but pairing it with a Reinforced Plating mod pushes the effective durability to 500 swings, the highest in the game. It requires the Mechanic's Bench on Floor 8, so it is a late-game weapon rather than a mid-game option.
Is bow and arrow crafting worth the durability cost?
For most players, yes. Ranged combat avoids the durability cost of closing distance and lets you pick off enemies before they reach your melee weapon, which net-saves durability over a full encounter. The key is to carry the right arrow tier and avoid over-firing — every missed shot is pure durability waste.
How do I unlock crafting stations faster in Deep Dish Dungeon?
Clear optional side rooms on each floor to find Crafting Sigils, which unlock the next station one floor early. Sigils are hidden behind breakable walls that require a pickaxe to access, so always carry a mining tool. Completing the sigil on Floor 3 unlocks the Forge on Floor 4 instead of Floor 5, shaving an entire floor off your crafting unlock path.