
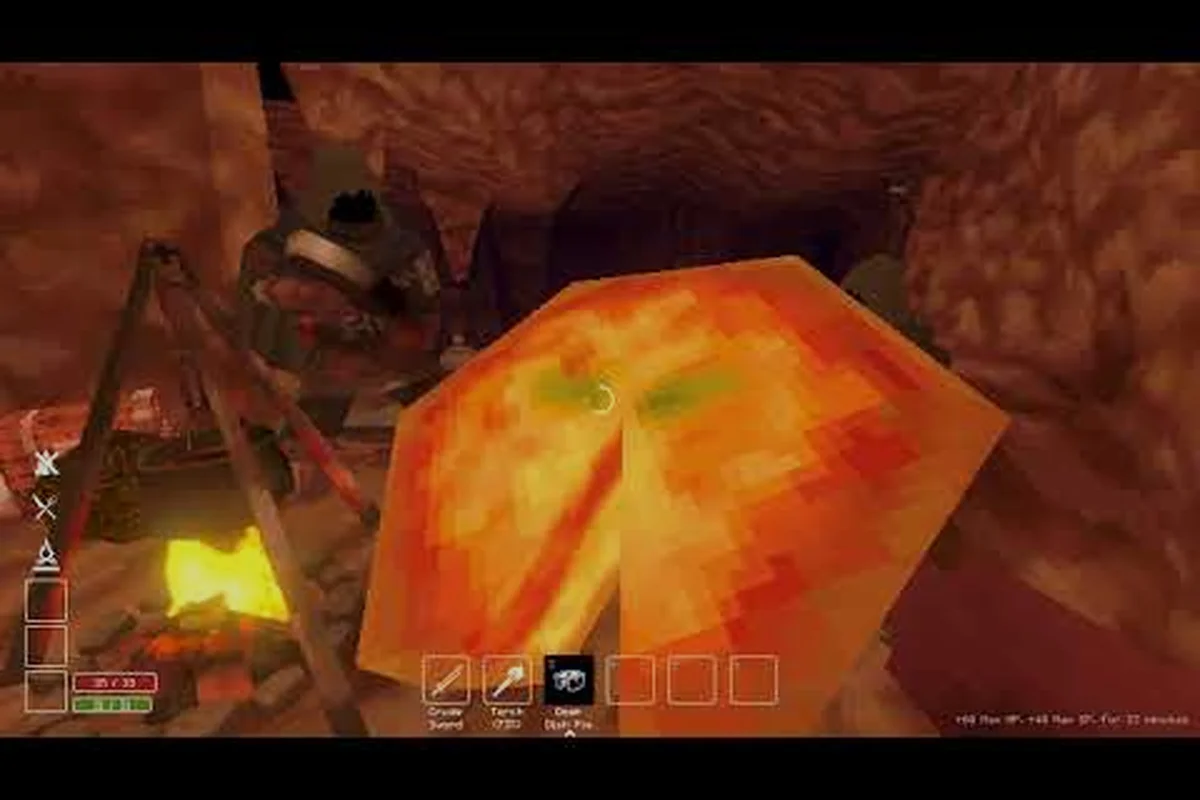
A well-planned camp in Deep Dish Dungeon is the difference between a chaotic run and a clean, repeatable expedition. Your hub is where every crafting station, storage chest, and utility facility comes together, and the order in which you place them shapes how smoothly the next delve goes. This deep dish dungeon camp guide walks through the layout philosophy, the station sequencing, the upgrade ladder, and the storage rules that experienced players tend to converge on after a few resets.
Rather than treating camp construction as a side project, treat it as your central logistics layer. Almost every recipe, repair, and recovery action routes through facilities you place here, so the difference between a sloppy build and a deliberate one shows up immediately in your expedition readiness.
Camp Foundations And Why The Hub Matters
The camp acts as the persistent layer between dungeon runs. Every run, you return here to offload loot, craft consumables, repair gear, and rebalance your loadout for the next push. A poorly thought-out hub forces you to backtrack across the entire camp, lose track of which chest holds what, and stall on small tasks that should take seconds.
Most players who bounce off the game early report the same complaint: their camp feels cluttered. The fix is rarely a single missing facility — it is a missing zone plan. Divide your camp into a handful of functional districts, and assign every station a home before you build it.
The Three-Zone Layout
The most common camp shape players settle on after a few sessions is a three-zone layout: a Crafting Quarter for stations, a Storage Wall for chests, and a Transit Strip connecting the two to your expedition exit. Community screenshots show this as a long hub with the exit at one end and a wall of chests at the other.
| Zone | Purpose | Typical Stations / Furniture |
|---|---|---|
| Crafting Quarter | Recipe-based work, requires foot traffic | Workbench, Forge, Cooking Pot, Oven, Infuser, Alchemy Bench |
| Storage Wall | Bulk storage, sorting, overflow | 6–12 reinforced chests, salvage bin, currency locker |
| Transit Strip | Movement and prep before runs | Bed roll, fast-travel pad, training dummy, NPC quarters |
The benefit of this layout is that every crafting action has a short path from the relevant chest, and every expedition has a clear departure lane. Players who skip the zoning step tend to end up with stations scattered across a single open square, which means walking through a forge to reach a chest for a cooking ingredient.
Why Upgrading Beats Expanding Early
A common mistake, fully documented in the camp build priority walkthrough, is treating camp growth as a horizontal project. Spreading stations across more ground before you have upgraded the core ones is the single fastest way to run out of inventory slots mid-run.
Deep Dish Dungeon camp upgrades matter more than extra square footage in the first ten hours. A tier-2 workbench unlocks recipes a tier-1 station cannot touch, which means the bottleneck on your progression is not the number of stations but the tier of the stations you already have. This principle drives most of the sequencing advice in this deep dish dungeon camp guide.
Station Sequencing And The First Build Order
The order in which you build stations is not just flavor. Several stations have hard dependencies on each other, and building a downstream station before its prerequisite is built is a real time sink. Community testing suggests the build order below is the most efficient path for a new camp, although exact recipes may shift with future patches.
Core Build Order
| Step | Facility | Why This Step Comes Now |
|---|---|---|
| 1 | Workbench (Tier 1) | Anchors the Crafting Quarter; required for almost every other station |
| 2 | Storage Chest x3 | Stabilizes inventory before crafting consumes slots |
| 3 | Forge (Tier 1) | Required for weapon and tool repair; routes most early recipes |
| 4 | Cooking Pot (Tier 1) | Food buffs are a major power curve in the first act |
| 5 | Alchemy Bench (Tier 1) | Enables potion crafting, which depends on Forge and Workbench |
| 6 | Bed Roll | Restores stamina between runs; cheap, fast to build |
| 7 | Oven (Tier 1) | Unlocks baking recipes that the Cooking Pot cannot handle |
| 8 | Infuser (Tier 1) | Required for advanced buffs and certain late-act recipes |
The Workbench-first build order repeats itself across nearly every shared base tour in Deep Dish Dungeon because Tier 1 Forge recipes demand refined ingots that only the Workbench can output, and skipping straight to the Oven leaves players stuck waiting on smelted materials they have no station to process. Once the Cooking Pot and Alchemy Bench enter the rotation, the dependency chain tightens: potion recipes route through the Forge for reagent conversion before the Alchemy Bench can finalize them, so a base missing the Workbench effectively stalls every downstream camp facility in the Crafting Quarter.
Sub-Order Within The Crafting Quarter
Once the core path is built, the Crafting Quarter itself benefits from a tighter sub-order. Place the Workbench and Forge on the same wall so the smithing-to-assembly flow is one step. Put the Cooking Pot, Oven, and Infuser on the opposite wall so food crafting and combat crafting never share a traffic lane.
The Alchemy Bench goes in the corner with the most light, because several recipes in that station require visibility-based minigames. Players who shove the bench into a dim corner report misclicks and wasted reagents, especially on the herb-blending recipes that show up around mid-game.
If you want a deeper walkthrough of the build order with material budgets, the camp build mechanics reference breaks the same path down by progression stage, including exact clay, plank, and iron-ore costs at each tier so you can pre-stage the Crafting Quarter without backtracking to the quarry.
Camp Facilities, Upgrades, And What They Actually Do
A station in Deep Dish Dungeon is not just a recipe list. Each facility has a tier ladder, a slot layout, and a set of unlock conditions that change how the camp feels. The base building guide is partly about knowing which camp facilities to upgrade first, and partly about knowing when to stop.
Station Tiers At A Glance
| Facility | Tier 1 Role | Tier 2 Unlock | Tier 3 Unlock |
|---|---|---|---|
| Workbench | Basic assembly, repair | Rare component recipes | Master crafts, set-piece gear |
| Forge | Smelting, basic repair | Tempered alloys, reforging | Mythic ingots, tempering oils |
| Cooking Pot | Simple meals, basic buffs | Multi-ingredient meals | Feast-tier dishes, party buffs |
| Oven | Baked goods, side buffs | Pastry tiers, baking sets | Artisan loaves, elemental breads |
| Infuser | Basic extracts | Concentrated tonics | Mythic infusions, dual-buff drinks |
| Alchemy Bench | Standard potions | Rare tinctures | Custom elixirs, reagent transmutations |
The pattern across facilities is consistent: tier 1 is functional, tier 2 is where the power curve bends, and tier 3 is endgame. Most players hit a plateau around tier 2 because the material cost jumps sharply and the recipe payoff does not always match the investment in the short term. Community data suggests the Forge and Workbench tier-2 upgrades are the highest-leverage moves, because almost every loadout path uses them.
Storage Rules That Keep The Camp Clean
The storage wall is the part of the camp most often ignored, and the part that has the biggest impact on expedition time, because every salvage pull, ore shipment, and dropped weapon has to land somewhere before you can even start preparing a loadout. Three rules tend to keep the camp manageable, and they are less about aesthetics than about cutting the friction between your storage wall and the crafting benches, where most expedition prep time is actually lost. The first time the storage wall spills past eight chests, players typically see prep windows balloon from two to three minutes to nearly ten, which is the real reason the camp layout guide treats zoning as a throughput problem rather than a decoration one.
-
One chest, one category. Salvage, ore, food, potions, and weapons each get their own chest. Mixing categories is the most common cause of "I cannot find anything" reports.
-
Reserve one overflow chest. Even with category chests, a single overflow bin absorbs the random drops that do not fit your build. Without it, category chests become junk drawers.
-
Keep currency separate. The camp has a soft currency locker, and using it as a wallet rather than dumping currency into a general chest makes mid-run balancing much faster.
Players who follow the one-chest-one-category rule and reserve a dedicated overflow bin report expedition prep times dropping by roughly a third, because they stop scrolling through mixed inventories of salvage, ore, and dropped weapons before every loadout swap. The savings come mainly from the crafting-bench zone: a clean storage wall means the bench pulls ingredients in two or three clicks rather than six or seven, and currency sitting in the soft locker lets you rebalance mid-run instead of breaking flow to dig through a general chest. In a typical eight-chest wall, prep windows shrink from around ten minutes back to the two-to-three-minute range that the camp layout guide treats as the throughput baseline.
If you want a more visual treatment of how the storage wall interacts with the rest of the hub, the camp layout and design ideas guide walks through several real player hubs and how their zoning choices paid off.
Camp Upgrades And The Upgrade Ladder
Upgrading a camp facility is not a single click. Most stations require a specific material bundle, a minimum tier on a prerequisite station, and a small build time. The deep dish dungeon how to upgrade camp question tends to surface around the time the workbench is full and the player realizes the next recipe is locked behind tier 2.
Upgrade Material Budget
| Upgrade | Material Bundle (Typical) | Time Sink | Payoff |
|---|---|---|---|
| Workbench T1→T2 | 40 wood, 20 iron, 5 rare gears | Medium | Unlocks advanced weapon assembly |
| Forge T1→T2 | 60 stone, 30 iron, 10 coal | High | Smelts tempered alloys |
| Cooking Pot T1→T2 | 25 wood, 15 herbs, 8 salt | Low | Multi-ingredient meals |
| Oven T1→T2 | 50 stone, 20 clay, 10 firewood | Medium | Pastry and baking sets |
| Alchemy Bench T1→T2 | 35 glass, 20 herbs, 5 rare reagents | Medium | Rare tinctures, longer buffs |
| Infuser T1→T2 | 30 copper, 20 herbs, 8 vials | Low | Concentrated tonics |
These numbers come from community testing on the current patch and may shift with future material rebalances, but the relative cost ranking has held stable across the last three updates. Forges and Ovens consistently sit at the top of the tier-2 jump sheet (60 stone and 50 stone bundles respectively), while Cooking Pots and Infusers are the cheapest tier-2 jumps at 25 wood and 30 copper — a roughly 2.4× material gap that players should plan around when sequencing camp facility upgrades, since knocking out the cheap stations first frees iron and rare reagents for the later Forge push in any deep dish dungeon base building guide route.
Sequencing The Upgrades
The most efficient upgrade path mirrors the build order. After the core eight facilities are at tier 1, push the Workbench and Forge to tier 2 first, then split effort between the Cooking Pot, Oven, and Alchemy Bench. The Infuser can sit at tier 1 until late game because its tier-2 recipes are more niche than the others.
This is also where the camp's spatial planning pays off. A well-zoned camp can absorb a tier-2 facility without rearranging the entire hub, while a chaotic camp requires a teardown. Players who try to add a tier-2 forge into a cramped corner often end up rebuilding the whole Crafting Quarter.
If you are still deciding which station deserves the next material bundle, the camp improvement guide walks through a full decision tree covering every facility — from Workbench Forge priority splits to whether pushing the Infuser early is worth the 2,400+ ore cost. It also maps common camp bottlenecks like storage overflow, missing Cooking Pot recipes, and tier-2 spatial conflicts against the resources required to clear them, so you can sequence each bundle against the most common camp facilities rather than guessing.
Camp Facilities, Buff Stacking, And Expedition Prep
A camp is also where your expedition prep happens, and the sequence you follow in the hub has a real effect on what you bring into the dungeon. The most consistent prep sequence in community reports is: repair, refill, cook, brew, gear, depart.
The Prep Sequence
| Step | Action | Where It Happens |
|---|---|---|
| 1 | Repair gear at the Forge | Forge |
| 2 | Move salvage and ore to chests | Storage Wall |
| 3 | Cook active meal at Cooking Pot / Oven | Cooking Wall |
| 4 | Brew potions and tonics at the Alchemy Bench / Infuser | Alchemy Corner |
| 5 | Pull combat loadout from chests | Storage Wall |
| 6 | Rest at Bed Roll to top off stamina | Transit Strip |
| 7 | Depart from the fast-travel pad | Transit Strip |
This sequence keeps the player moving in one direction around the camp, which matters more than it sounds. Players who prep in a random order end up backtracking across the hub several times, and that backtracking is the most common source of "I forgot to repair" reports.
How Meals Interact With Each Other
Buff stacking is where the camp's camp facilities earn their keep. The Cooking Pot, Oven, and Infuser each contribute a buff slot, and the Alchemy Bench contributes a potion slot. A well-fed, well-buffed expedition starts with all four slots filled, and the camp layout should make that easy.
Most players who skip the cooking wall end up entering the dungeon with one or two buffs instead of four, which is a significant power gap. If you want the recipe side of buff stacking broken down, the cooking and recipe unlock guide covers the station recipes in detail.
The Transit Strip As A Real Zone
The Transit Strip is the most underused part of the camp, and it is also the easiest to get right. A Bed Roll, a fast-travel pad, a training dummy, and an NPC quarter take up very little space, and they make a measurable difference in expedition pacing. The training dummy in particular is often skipped, and it is one of the cheapest ways to test a loadout change before committing it to a run.
Camp Mistakes, FAQ Hooks, And Long-Term Planning
The mistakes that show up most often in player reports are not exotic. They are the same four or five patterns, repeated across hundreds of hours of community play, and they cluster around three pressure points: placing the camp's core facilities too close to the dungeon's lava chokepoint, ignoring the upgrade queue when morale drops below the 40% threshold, over-investing early scrap into cosmetic tents instead of the ration storage, and failing to rotate guards across the south corridor before a boss rush. Recognizing these patterns early — often by the second failed run — saves dozens of hours of rearranging the campfire grid and re-clearing the same failed shifts in the deep dish dungeon camp guide progression.
Common Camp Mistakes
| Mistake | Symptom | Fix |
|---|---|---|
| Building outward before upgrading | Inventory full, recipes still locked | Push core stations to tier 2 before adding new ones |
| Mixing chest categories | Cannot find materials mid-prep | One chest, one category, plus overflow |
| Placing stations in dim corners | Misclicks, wasted reagents | Put Alchemy Bench and Oven in well-lit spots |
| Skipping the Transit Strip | Slow expedition exits | Add Bed Roll, pad, dummy, and a single traffic lane |
| Ignoring buff stacking | Entering dungeon under-buffed | Fill all four buff slots before every run |
These five mistakes cover the bulk of camp-related complaints. The good news is that every one of them is fixable without a full teardown, and the camp's tile-based layout means small reorganizations take a few minutes rather than a few hours.
Long-Term Camp Planning
The camp is also a long-term project. By the time you reach the late game, the camp will likely have doubled in footprint, with a dedicated alchemy wing, a second cooking wall, and a small mining/processing sub-camp for raw materials. Most players do not plan for this growth, which is why the second reset of the camp is so common.
A useful rule of thumb is to leave one full wall of empty space at the back of the Crafting Quarter. That wall is where tier-3 facilities will eventually go, and having the space reserved means the late-game rebuild is an addition rather than a teardown. This is one of the few pieces of advice in this deep dish dungeon campsite guide that does not show up in most first-time playthroughs, because the late game is far away when the camp is still small.
Frequently Asked Questions
What should I build first in my Deep Dish Dungeon camp?
Start with the Workbench, three storage chests, and the Forge. That trio covers assembly, repair, and inventory stability, and every other facility in the hub builds on top of them. Building a Cooking Pot or Oven before the Workbench is the most common first-day mistake.
How do I upgrade camp facilities in Deep Dish Dungeon?
Walk up to a station, open its upgrade menu, and confirm the material bundle. Most tier-1 to tier-2 upgrades require a mix of basic materials plus a small number of rare components. Push the Workbench and Forge to tier 2 first because their upgrades unlock the most downstream recipes.
How many camp facilities should I aim for early?
Eight is the practical early-game cap: Workbench, Forge, Cooking Pot, Oven, Infuser, Alchemy Bench, Bed Roll, and fast-travel pad. Once all eight are at tier 1, shift your effort into upgrading the Workbench and Forge before adding any new facilities.
Where should I put the Alchemy Bench in my hub?
Put it in the brightest corner of the Crafting Quarter, away from foot traffic. Several Alchemy Bench recipes involve a small visual minigame, and a dim corner leads to misclicks and wasted reagents. The Infuser and Workbench also benefit from this lighting pass, since their tier-2 upgrade icons fade at low brightness and cause players to misread the rare-component slots. Place a torch or lantern within two tiles of the Alchemy Bench to keep the minigame contrast clear.
Is the Transit Strip really necessary?
Yes, because it separates prep from crafting. Place the Bed Roll and fast-travel pad at the end of a single traffic lane running from the Workbench side of the Crafting Quarter to the camp exit, so expedition restocks flow one way without crossing the Forge or Alchemy Bench. That dedicated lane cuts backtracking noticeably on multi-floor dives, keeps resource drops from cluttering the crafting path, and lets you bank tier-2 Workbench repairs in the Bed Roll radius between waves.