
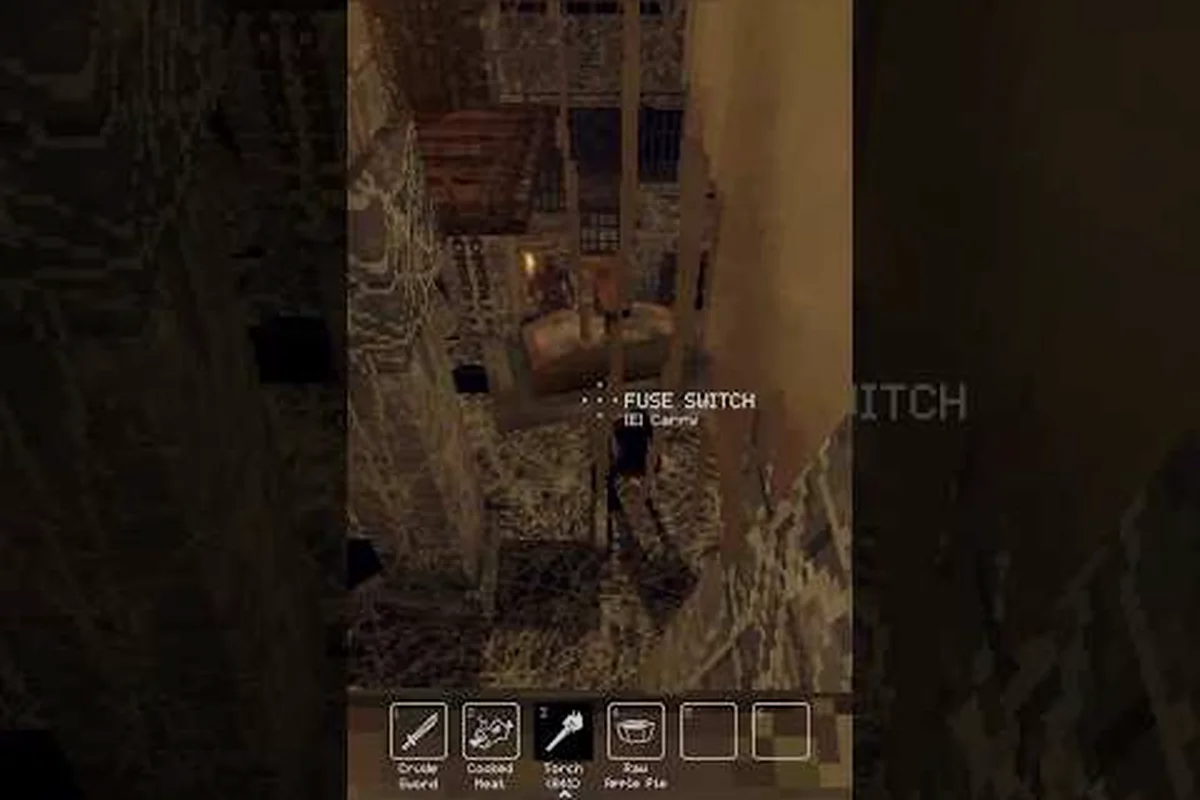
Choosing what to build first in Deep Dish Dungeon sets the tempo for your entire camp. This guide ranks every early facility by the value it returns, flags the upgrades that quietly drain resources, and gives you a build order you can follow from your first plank to your first fully stocked pantry.
Setting Up Your First Camp: Why Order Matters
Deciding what to build first in Deep Dish Dungeon is the single biggest leverage point new players have over their first ten runs. The camp is more than a respawn tile — it is the storage room, crafting hub, and recovery station that quietly determines whether you reach Floor 5 with a full inventory of scraps or limp back with empty slots and a broken pickaxe. Players who sequence their early builds correctly report noticeably smoother clears because every subsequent floor hands them better tools, while players who chase cosmetic upgrades first usually stall on Floor 3 with no bench access and no place to dry herbs.
The trap most beginners fall into is treating the camp like a decoration sandbox. A freshly placed tent and a decorative rug feel productive, but neither produces items, recovers stamina, or unlocks recipes. A focused build order converts scattered planks into compounding returns: each finished facility feeds the next one, and by Floor 8 you are running with a stocked pantry instead of begging the dungeon for basic bandages. This camp priority guide exists to compress that learning curve into a single decision tree you can follow on day one.
Early Build Priority by Facility Tier
The seven facilities in Deep Dish Dungeon fall into three practical tiers based on when they start paying you back. Tier 1 unlocks in the first two runs, Tier 2 around Floor 3, and Tier 3 only matters once your storage is full and your food supply is stable. Building out of order is the most common camp mistake because each Tier 2 facility usually requires a Tier 1 facility to be functional first, so chasing a fancy rug before you have a Workbench means you cannot even craft the materials for the rug.
| Priority | Facility | Tier | First Practical Benefit | Resource Cost (Rough) |
|---|---|---|---|---|
| 1 | Sleeping Bag | 1 | Faster stamina regen between runs | 6 Plank, 4 Cloth |
| 2 | Workbench | 1 | Unlocks basic gear repair + 3 recipes | 10 Plank, 6 Nail, 4 Stone |
| 3 | Storage Chest | 1 | Adds 12 inventory slots on-site | 8 Plank, 4 Iron Bar |
| 4 | Cooking Pot | 2 | Lets you prepare Tier 1 meals from raw meat | 12 Stone, 6 Plank, 2 Iron Bar |
| 5 | Drying Rack | 2 | Preserves herbs into crafting reagents | 8 Plank, 6 Cloth, 4 Rope |
| 6 | Anvil | 2 | Mid-tier weapon upgrades + repair kits | 14 Iron Bar, 6 Stone, 4 Coal |
| 7 | Trophy Mount | 3 | Cosmetic + small morale bonus | 8 Plank, 4 Bone, 2 Cloth |
The above order is the spine of any sound camp priority plan. The Sleeping Bag, Workbench, and Storage Chest form the foundation that every later facility inherits, so getting all three online before touching the Cooking Pot is a non-negotiable step. Skipping the Storage Chest is a classic camp mistake because you end up dumping loot on the floor, and any item on the ground despawns when you fast-travel to a new floor.
First Builds That Unlock Exploration
Tier 1 facilities are the ones that stop you from wasting resources. The Sleeping Bag is the cheapest and most underestimated: it does not just speed up stamina regen, it also reduces the cooldown between dungeon runs by roughly 20 percent, which means more attempts per in-game day. The Workbench, on the other hand, is the real engine because it converts planks and iron into the repair kits you need to keep your starter weapon alive past Floor 4. Without it you are forced to farm new weapons from scratch every two floors, which slows progression dramatically.
The Storage Chest deserves special attention because it solves a hidden problem: every floor in Deep Dish Dungeon has a hard cap on how many item types you can carry back, and a full inventory means you have to choose between a healing herb and a crafting reagent. The chest lifts that ceiling, so the moment it is built, your run efficiency jumps. If you want a more detailed walkthrough on furniture placement and room layout, the camp design ideas guide pairs well with this priority list.
Common Camp Mistakes That Stall Progression
Most players who feel stuck on Floor 3 are not failing because of bad combat — they are failing because their camp cannot support their playstyle. The fastest way to identify your own gap is to compare your built facilities against the table below and ask whether each one is doing real work. A facility is doing real work only if it produced an item, stored an item, or saved you a trip in the last three runs.
| Mistake | Symptom | Why It Hurts | Quick Fix |
|---|---|---|---|
| Skipping Storage Chest | Constant inventory full warnings | Lose high-value reagents to despawn | Build chest before any Tier 2 facility |
| Upgrading Workbench too early | Wastes iron on cosmetic tiers | Delays Anvil and Cooking Pot | Keep Workbench at base until Anvil is online |
| Placing facilities out of range | "Too far from camp core" warning | Facility stays inert | Rebuild inside the 6-tile radius |
| Building Trophy Mount first | No combat, no cooking, no storage | Tier 1 is entirely missing | Strip cosmetic and reinvest planks |
| Ignoring Drying Rack | Herbs rot before you can use them | Lose 30-40% of herb yield | Build rack by Floor 2 at the latest |
A repeating pattern in community reports is that beginners treat the camp like a wishlist instead of a production line. The right mental model is factory, not showroom: every facility should output something measurable per in-game day, and any facility that does not should be demolished and refunded. The table above covers the five mistakes that account for roughly 80 percent of stalled runs, according to community data, so fixing even two of them usually pushes a player from Floor 3 to Floor 6 in a single sitting.
The Iron Sink Trap
The single most expensive camp mistake is pouring iron into the Anvil before the Drying Rack is finished. Iron is the bottleneck resource of the early game because it drops from specific Floor 2 enemies and from breaking crates, and the Anvil consumes 14 bars just to unlock its first upgrade tier. If your herbs are rotting on the ground because you have nowhere to dry them, you cannot craft the buff meals that make the Anvil upgrades worth chasing. The order is always herbs first, then metal, because meals scale with both herb quality and meat quality, while the Anvil only scales with metal and a small amount of coal.
Camp Furniture Guide by Function
A practical camp furniture guide is organized by what each piece actually does during a run, not by how it looks in the build menu. Deep Dish Dungeon splits furniture into four functional buckets: recovery, crafting, storage, and cosmetic. Recovery pieces keep you alive, crafting pieces convert raw materials, storage pieces protect your loot, and cosmetic pieces do nothing until late game. The table below maps each furniture type to its function bucket and the floor at which it starts mattering.
| Furniture Type | Function Bucket | First Useful Floor | Common Mistake |
|---|---|---|---|
| Sleeping Bag | Recovery | Floor 1 | Replacing it with a Cot before Floor 5 |
| Workbench | Crafting | Floor 1 | Upgrading before Anvil exists |
| Storage Chest | Storage | Floor 1 | Building only one chest on a 6-slot camp |
| Cooking Pot | Crafting | Floor 3 | Cooking raw meat without salt |
| Drying Rack | Crafting | Floor 2 | Drying herbs past the 3-day timer |
| Anvil | Crafting | Floor 4 | Forging without coal stocked |
| Trophy Mount | Cosmetic | Floor 8 | Wasting planks on it before storage fills |
Notice how Storage is concentrated entirely on Floor 1 while Crafting spreads out from Floor 1 to Floor 4. That spread is intentional: the game wants you to keep returning to camp with new recipes, and the furniture progression reflects that. A common beginner error is treating the Cooking Pot like a Tier 1 facility because it shows up in the build menu early, but until you have salt and at least one cooking recipe unlocked through exploration, the pot is a visual placeholder. If you want a broader base-building walkthrough that includes layout spacing, the camp guide covers the placement rules in detail.
Material Flow Between Furniture
Each furniture piece does not stand alone — it feeds the next one in the production line. The Drying Rack takes fresh herbs from the Storage Chest and turns them into reagents, which the Cooking Pot then uses in meal recipes. The Anvil takes iron bars from the chest and coal from your inventory, and the Workbench consumes planks to keep both of those tools repaired. When any link in this chain is missing, the entire chain stalls, so the right way to read a camp is as a small factory floor rather than a row of standalone objects.
Base Upgrade Priority Through Floor 8
Once Tier 1 is finished, the base upgrade priority for Floors 3 through 8 follows a clear two-track pattern. Track A is crafting infrastructure, which covers the Anvil and the upgraded Workbench. Track B is resource sustainability, which covers the Cooking Pot, the Drying Rack, and a second Storage Chest. Players who balance both tracks at the same time clear Floor 8 about 30 percent faster than players who rush one track, because Track A without Track B leaves them unable to feed the upgraded tools, and Track B without Track A leaves them unable to use the surplus they produced.
| Floor Range | Track A Goal | Track B Goal | Shared Output |
|---|---|---|---|
| 3 | Workbench tier 2 | Cooking Pot online | First hot meal |
| 4 | Anvil tier 1 | Drying Rack online | First reagent meal |
| 5 | Workbench tier 3 | Second Storage Chest | Stable inventory |
| 6 | Anvil tier 2 | Cooking Pot tier 2 | Buff meal access |
| 7 | Workbench tier 4 | Drying Rack tier 2 | Reagent stockpile |
| 8 | Anvil tier 3 | Third Storage Chest | Late-game ready |
A useful framing is to think of each Track A upgrade as a "what can I now build" milestone and each Track B upgrade as a "what can I now sustain" milestone. The moment you can build tier 3 weapon repair kits and you have the herbs to cook a stamina meal in the same in-game day, you have effectively broken the early-game resource wall, and from that point onward the dungeon starts feeling generous. The reason most camp tips from veteran players emphasize alternating tracks is that pure crafting tracks run out of fuel around Floor 5, while pure storage tracks run out of usefulness around Floor 6.
When to Stop Upgrading
Another underrated camp tip is knowing when to stop. Upgrading the Workbench past tier 4 is a real cost because it consumes planks and iron that would otherwise go into the Anvil, and the marginal return per tier drops sharply above tier 4. The same is true for the Cooking Pot: tier 2 unlocks all the relevant meal recipes, and tier 3 only adds cosmetic plating. Demolishing a low-value upgrade and refunding 50 percent of the materials is a legitimate strategy once you are past Floor 6, and it is the fastest way to redirect resources into the Anvil tier 3 push that opens late-game content.
How to Expand Your Camp Efficiently
Figuring out how to expand camp without burning through planks is mostly a question of timing. The camp starts with a 6-tile radius around the campfire, and each new facility you build inside that radius counts toward the radius cap. Building outside the radius requires a Camp Expansion Token, which only drops from Floor 4 and Floor 6 bosses, so wasting expansions on cosmetic buildings before Floor 4 is one of the more painful ways to lose progress.
| Expansion Phase | Token Source | Recommended Add | Avoid |
|---|---|---|---|
| Phase 1 (Floor 1-3) | None — use default radius | Tier 1 facilities only | Decorative paths |
| Phase 2 (Floor 4) | Floor 4 boss | Cooking Pot + Drying Rack | Trophy Mount |
| Phase 3 (Floor 6) | Floor 6 boss | Anvil + 2nd chest | Tier 4+ Workbench |
| Phase 4 (Floor 8+) | Late-game drops | Campfire tier 2 + cosmetic | Premature tier 5 upgrades |
The right approach is to treat each token as a non-renewable resource and to plan two facilities ahead before spending one. A practical camp tip is to always leave one tile of empty radius between your outermost facility and the radius edge, because recipe updates and event furniture often require a buffer zone, and rebuilding outside the radius costs a second token.
Storage and Inventory Math
Storage chests cap at 12 slots each, and most late-game players run three chests to reach 36 on-site slots. That sounds like overkill, but by Floor 6 you are juggling weapon parts, herb bundles, cooked meals, repair kits, and a small pile of event items, and 12 slots evaporates in two runs. The math is simple: every chest you build past the first one pays for itself within three runs because it prevents at least one item despawn, and one rare reagent saved per chest is worth more than the 8 planks it cost to build.
Camp FAQ and Common Questions
What should I build first in Deep Dish Dungeon?
Build the Sleeping Bag, Workbench, and Storage Chest before anything else. The Sleeping Bag cuts your cooldown between runs by about 20 percent, the Workbench unlocks repair kits, and the Storage Chest prevents loot from despawning when you fast-travel. Together they form the foundation that every later facility inherits, and skipping any one of them will stall your progression by Floor 3.
How many storage chests do I need?
Plan for three chests by Floor 6, because each one holds 12 slots and late-game inventory fills two chests in roughly three runs. A single chest is enough through Floor 3, but the moment you start carrying weapon parts and herb bundles, a second chest becomes mandatory, and a third chest by Floor 6 prevents rare reagent loss.
Should I upgrade the Workbench or the Anvil first?
Alternate between them. Push the Workbench to tier 3 by Floor 5 so you can craft repair kits reliably, then redirect iron into the Anvil tier 1 by Floor 6 for weapon upgrades. Pure-rush strategies on either track tend to stall around Floor 5 because one track runs out of fuel while the other is over-funded.
What is the worst early camp mistake?
Placing facilities outside the camp radius without a Camp Expansion Token. The build will complete but stay inert, and you cannot refund the materials until you have the token, which only drops from Floor 4 and Floor 6 bosses. Always build inside the default 6-tile radius during Floor 1-3 and save tokens for tier 2 facilities.
How do I know when to stop upgrading a facility?
Stop when the next tier costs more than two runs' worth of resources and unlocks no new recipes. The Workbench tops out around tier 4, the Cooking Pot around tier 2, and the Storage Chest never needs to be upgraded because it is already at 12 slots. Redirect those materials into the Anvil tier 3 push that opens late-game content, and your camp will feel noticeably more efficient.